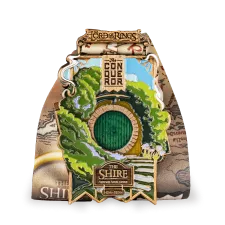
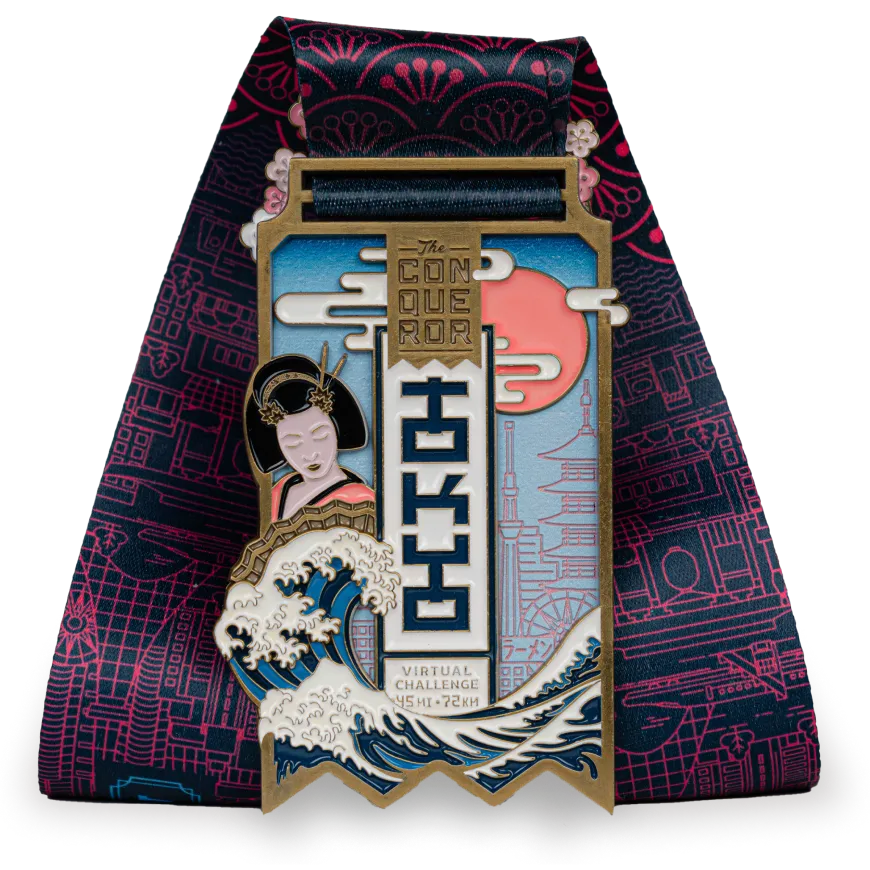
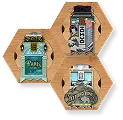
Step 1 – Find the best place for it
Start by finding the best spot on your wall for the whole Honeycomb display.
Keep in mind that you’re likely to expand the display in the future. Can you install 5 or 10 more Honeycombs in the place you first picked?
When you’re happy with your wall location, all you have to do is to attach half of the double-sided tape to the wall and attach the hanger to it. Don’t worry if it’s not aligned perfectly from the beginning — you can readjust the hanger anytime.
*Please make sure you install your honey comb on smooth surfaces.
Step 2 – Remove the circular medal hanger
This is the easiest part—just twist the circular hanger and pull it out.
Step 3 – Tie the ribbon around the circular hanger
Next, thread the medal’s ribbon through the hanger as shown in the video. Don’t worry if it doesn’t come out right on your first try. This is not an exact science; practice makes perfect.
Step 4 – Make it all come together
Snap the circular hanger back into its shell. You should feel a “click” when the magnets connect.
If you don’t feel a snap, try wigglining it left and right slightly, this should refit the ribbon and let the hanger attach perfectly.


